
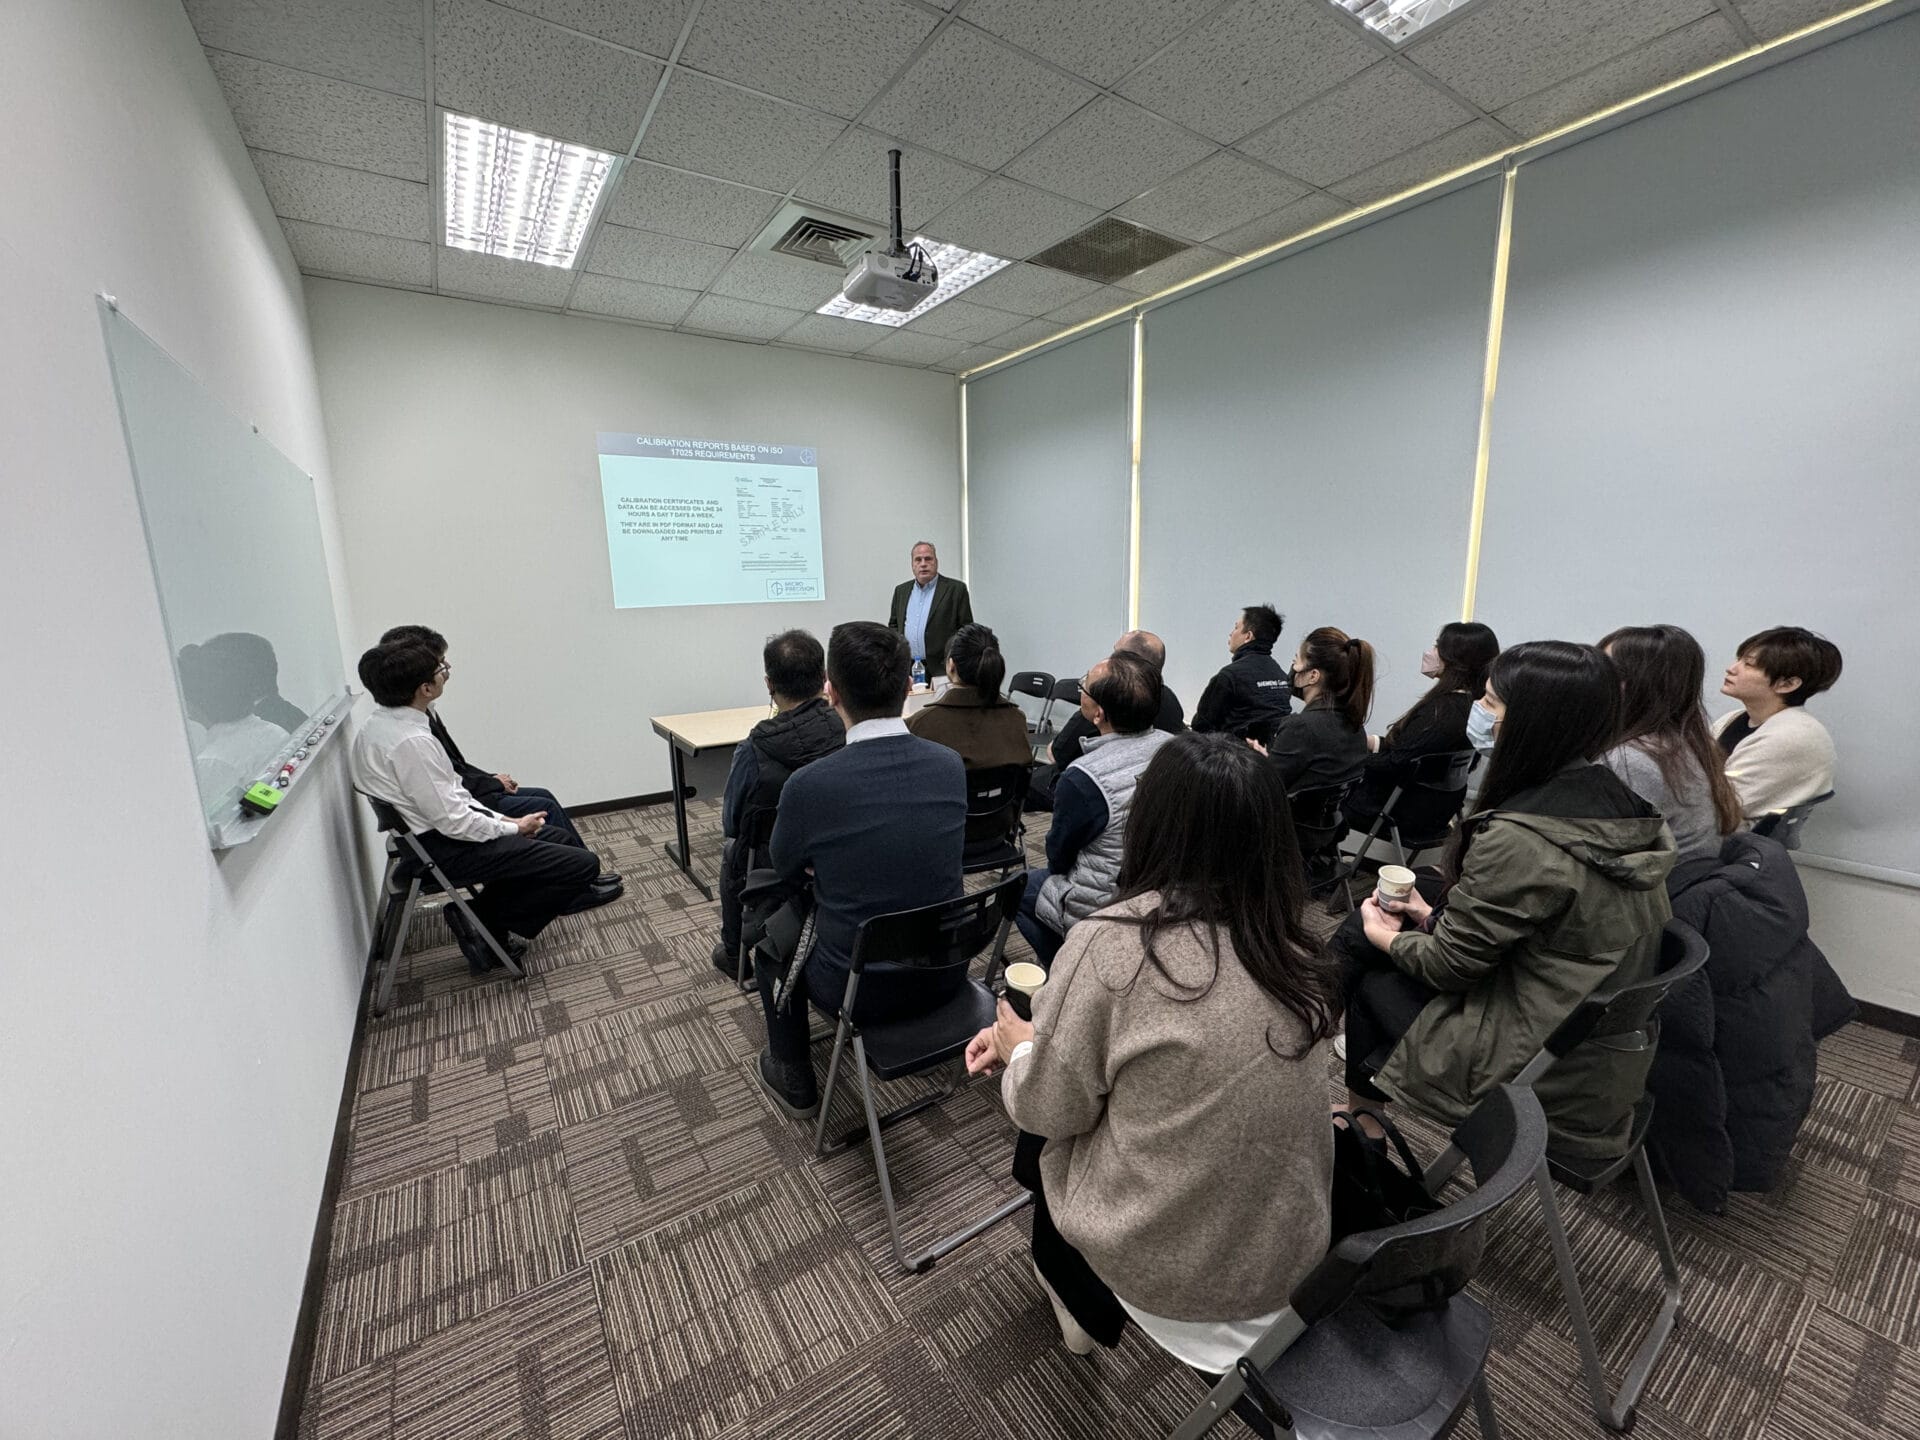
Micro Precision Joins the 2024 MSC Training Symposium: Probability of False Acceptance Estimation
Good news for all metrology professionals and enthusiasts! The annual MSC Training Symposium is set to take place on March 25 - 28, 2024, at the Disneyland® Hotel Convention Center. This event offers an excellent opportunity to gain valuable insights from industry leaders like Pedro Adame, Lab Manager at Micro Precision Calibration Inc., and many more.
Take a deep dive into the best practices and latest advancements in measurement science with the sessions during this 4-day event. Grab the opportunity to gain valuable insights from industry leaders in the world of metrology and calibration. Renowned sponsors like Fluke Calibration and Additel will also be present, showcasing their industry-leading solutions. Don't miss out on this chance to connect, learn, and propel your career forward in the ever-evolving world of measurement science. Visit the MSC Training Symposium's official page for more information and registration details
Probability of False Acceptance Estimation for Asymmetrical Tolerances
Micro Precision joins the MSC Training Symposium. With one of our experts in the field Lab Manager Pedro Adame, get an in-depth understanding of the Probability of False Acceptance Estimation for Asymmetrical Tolerances - Hands-On Application, presenting the development of a Calibration Certificate Datasheet as a finish hand on application in full compliance to the ANSI/NCSL Z540.3-2006 (R2013). Catch this talk on March 28, 2024, Thursday, 1:45 PM to 2:30 PM.
Abstract: https://www.callabmag.com/wp-content/uploads/2019/07/apr19_web-1.pdf#page=26

Register Now!
Join us and don’t miss out on this exciting opportunity. Connect with fellow professionals and learn from industry experts.
Visit the MSC Training Symposium's official page for more information and registration details. See you there!

How Often Should Backflow Test Kits Be Calibrated? Safeguarding Your Water Supply
Even the slightest water contamination is a big no-no since this can directly affect the health of your consumers. Backflow prevention devices are used to safeguard the water supply by preventing contamination from flowing back. To ensure that this is functioning properly and optimally, backflow test kits are utilized in regular testing.
Importance of Backflow Test Kits
Backflow test kits are specialized instruments that evaluate the functionality of backflow prevention devices. These kits, which consist of valves, hoses, and gauges, measure pressure differentials across the device to detect if backflow is present. Over time, they will require proper maintenance and care, including calibration. This preventive measure helps avoid issues such as hazardous contamination and costly emergencies.
Backflow Test Kit Calibration Frequency
Factors to Consider
The question arises: How often should you calibrate your backflow test kit? There is no single correct answer to this question; many factors should be considered:
- Risk Assessment - A qualified professional's thorough risk assessment takes into account variables such as water pressure, possible contaminants, and the type of backflow prevention device. The suggested testing frequency is influenced by this assessment.
- Facility Type - Due to the higher potential hazards in commercial buildings, hospitals, and industrial facilities, testing is usually not as necessary for residential properties as it is for the latter.
- Regulatory Requirements - The frequency mandated by the Environmental Protection Agency (EPA) and local authorities serves as a baseline. But, these might change based on the kind of facility and where you live.
Recommended Schedule and Frequency
Although frequencies are determined by regulations and unique situations, the following is a general guideline:
- Annual calibration: This is recommended for minimal use of backflow preventers. An example would be a single-family home with low-risk backflow potential.
- Semi-annual calibration: Ideally, this is for commercial buildings, apartments, and facilities considered as moderate risk.
- Quarterly or more frequent calibration: Essential for high-risk facilities like hospitals, food processing plants, and irrigation systems with backflow prevention devices.
Industry standards and best practices typically align with these recommendations. However, there is greater emphasis on ensuring accurate testing. If there are any signs of potential risk, immediate checking and calibration should be promptly done, regardless of whether there is already a scheduled calibration set.
Invest in a Reliable Backflow Test Kit Calibration Service
Many rely heavily on clean water, including businesses, facilities, and households. Deciding when to calibrate your test kits and engaging a trained professional is truly an investment worth making. It minimizes risks and helps protect the health of consumers. By implementing a schedule for this based on factors such as risk assessment, relevant regulations, and expert recommendations, you can acquire the peace of mind that comes with proactive backflow prevention.
To learn more about backflow test kit calibration, feel free to message us with your inquiries.

Top Tips for Backflow Preventer Care
Backflow preventers are vital for keeping the water supply safe and free from contamination. That's why it's crucial to have a properly working one in your plumbing system.
Backflow preventers are specialized valves installed to prevent the reverse flow of water that could potentially contaminate the potable water supply. The overall purpose of this is to ensure public health and that the water is clean and safe for consumption.
However, to ensure that this is always the case, proper care and maintenance are required. Here are some important tips you'll need for backflow preventer care and maintenance:
Tips for Backflow Preventer Care:
Installation Considerations
First and foremost, if you haven't installed your backflow preventer yet, consider the best way to do so. Take into account factors such as the location, size of the plumbing system, and regulatory requirements. Ensure that the backflow preventer is easily accessible and positioned away from potential contaminants. It's highly recommended to consult with an experienced plumber or technician regarding the installation of the backflow preventer.
Cleaning and Debris Removal
Regular cleaning is highly recommended to ensure that your backflow preventers are functioning well. Remove any debris or sediment that may accumulate in the pipes and valves. These can cause blockages and obstruct the flow, potentially leading to future damage.
Annual Testing
At least once a year, a certified professional should verify the effectiveness of your backflow preventer. Part of the process involves using backflow preventer test kits. Aside from confirming efficiency, yearly testing can detect potential issues that may require repair or replacement if necessary.
Replacing Damaged Parts
Once damages, corrosions, leaks, and worn seals are discovered, it is crucial to have them replaced immediately. Replace any damaged parts, such as valves, pressure gauges, or seals, promptly to maintain the reliability of not just the backflow preventer but also the entire system. Ignoring the damaged components can lead to contamination and system failure.
Seasonal Maintenance
Aside from annual testing, consider whether the working environment tends to fluctuate and affect the functionality of the backflow preventer. Additionally, there are seasons when the weather undergoes extreme changes. For example, during winter, it's crucial to protect backflow preventers from freezing and thawing damage by insulating exposed pipes and valves. These are just a few ways you can prolong the lifespan of your backflow preventer.
Taking Other Preventive Measures:
- Using a Backflow Test Kit
Invest in a quality backflow test kit to monitor the performance of your backflow preventer regularly. These kits allow you to conduct basic tests to ensure that the valves are operating as intended.
- Calibrating and Repairing Backflow Test Kit
To provide accurate readings, ensure that the backflow test kit used is calibrated correctly. Regular calibration of the backflow test kit can save you from the hassles that come with potential misdiagnosis of the backflow preventer's condition.
- Professional Assistance
If you have any doubts, it is better to seek out professionals, such as certified experts in the maintenance and testing of backflow preventers. They will ensure quality work that meets all regulations and legal standards. Moreover, they can offer the best methods for improving your system's performance and provide useful advice
Proper maintenance of backflow preventers is essential for ensuring the safety and integrity of our drinking water supply. By following these tips and investing in professional assistance when needed, homeowners and businesses can maintain effective backflow prevention systems and protect public health.
For calibration services for your backflow test kit, contact Micro Precision Calibration, to ensure accurate and reliable results for peace of mind.

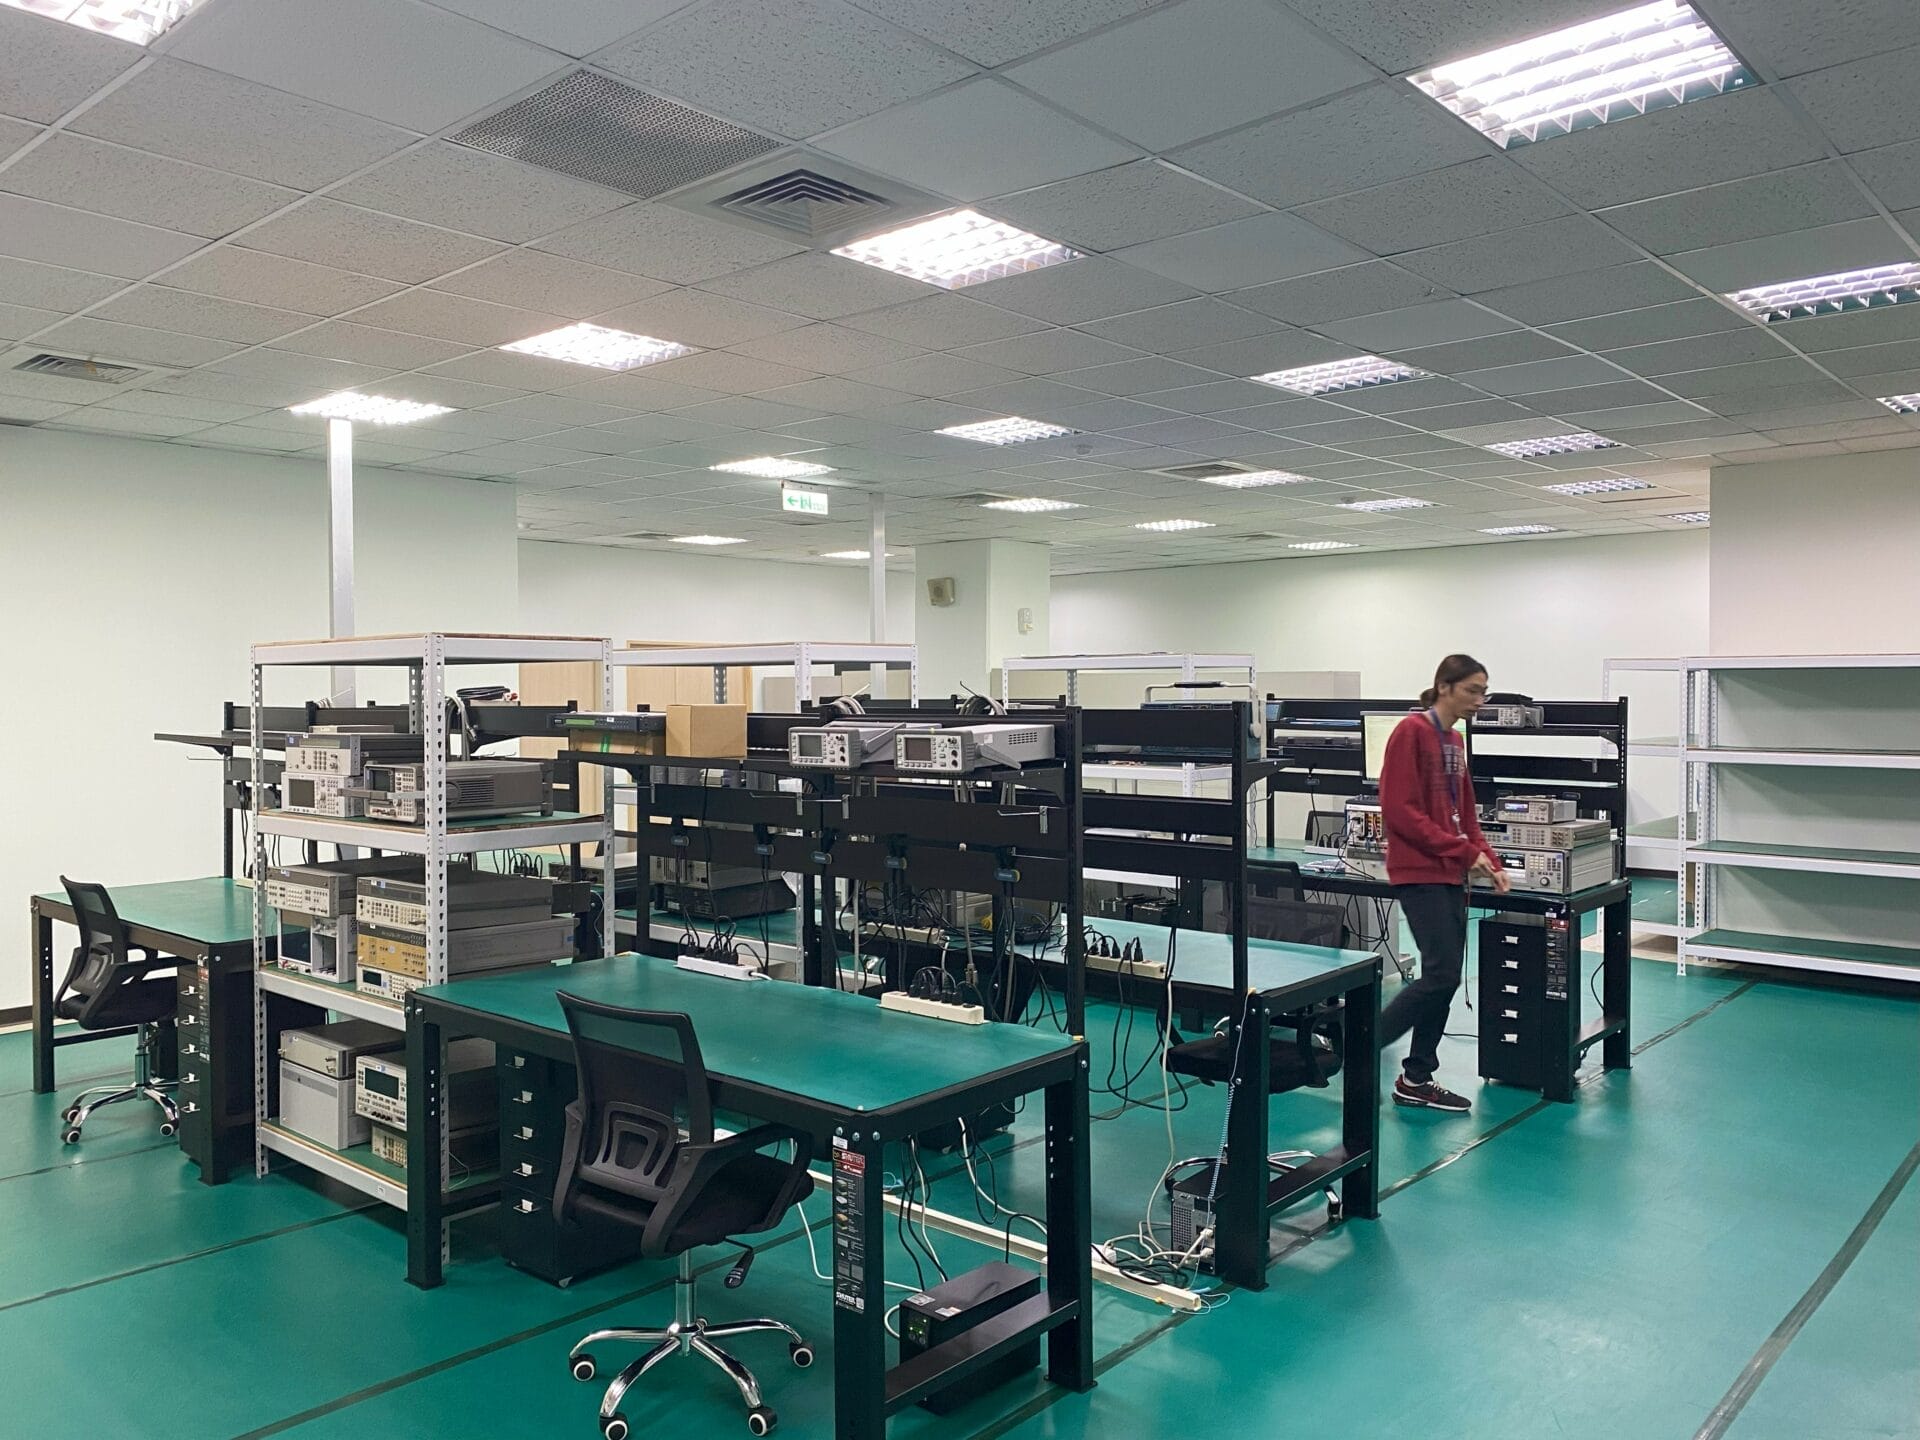
Taiwan Calibration Lab Relocation: Our Taiwan Lab's Exciting Expansion
We have relocated our Taiwan lab facility to a new location, which provides us additional space to better serve our customers in Taiwan. In addition to our larger facilities, we are also expanding our team and capabilities to meet the growing needs of our local customers. We would like to congratulate our Taiwan Team for their continued growth and commitment to our customers.
For more information on our new Taiwan facilities or how our team can help you with your Test Equipment Calibration needs, please contact us at:
Micro Precision Calibration Taiwan Division
Call us: +886 3 5781605
Company Address: 3F, No. 21, Shuili Rd., Hsinchu City, 300053, Taiwan
Email: [email protected]
 6")
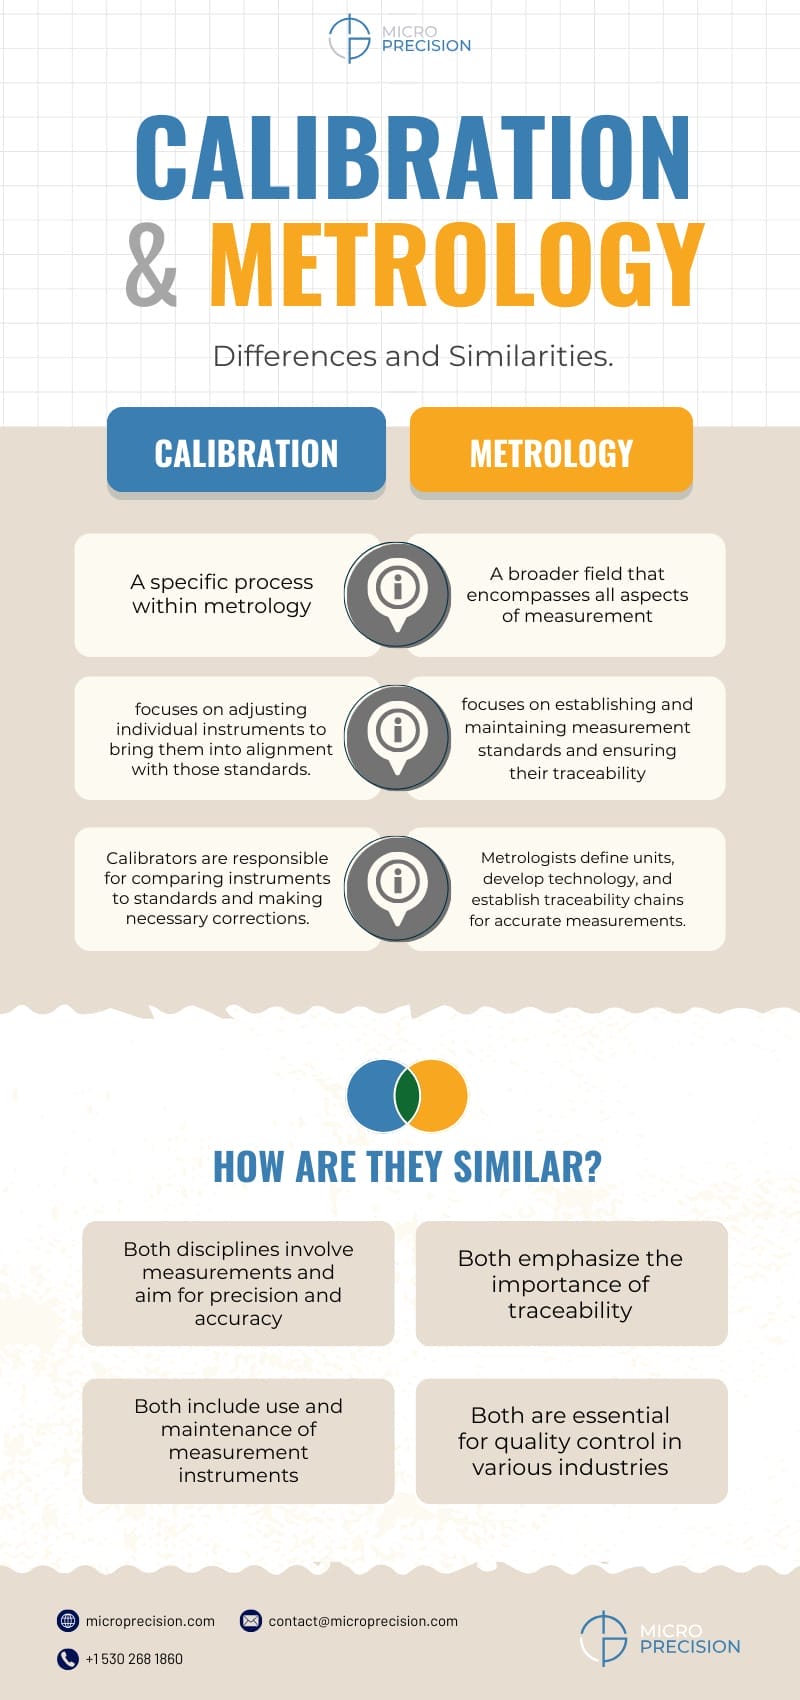
Metrology vs. Calibration: What's the Difference? (Infographic)
Many people often confuse Metrology and Calibration, as their distinct roles in measurement are often misunderstood. In the following article, we will delve into the dissimilarities and similarities between these two crucial aspects of guaranteeing precise measurements.
[Infographic is found at the bottom]
Difference of Metrology and Calibration
Scope: The field of metrology deals with the science of measurement as a whole, and encompasses the creation of benchmarks, techniques, and tools. On the other hand, calibration stands as a subset that focuses on the meticulous comparison and fine-tuning of instruments to ensure compliance with the established standards.
Nature and Purpose: Metrology, as a field of study, is distinguished by its strong theoretical underpinnings and extensive examination of the science behind measuring. It involves fundamental research, standards development, and the exploration of measurement methods. On the other hand, calibration presents itself as a hands-on, pragmatic endeavor that is concerned with the practical application of ensuring and fine-tuning instruments for precise accuracy in real-world scenarios.
Calibrators and metrologists: Metrologists are individuals who delve into the depths of theoretical aspects, making valuable contributions to the development of standards and conducting research. On the other hand, calibrators, experts in the practical application of knowledge, engage directly with instruments to guarantee precision in particular applications. These two roles are intricately linked, as metrologists lay the foundation for theoretical understanding while calibrators put these principles into action to achieve accurate measurements.
Similarities of Metrology and Calibration
Both disciplines involve measurements and aim for precision and accuracy. In both metrology and calibration, the shared goal is precise and accurate measurements, ensuring reliability and adherence to established standards.
Both emphasize the importance of traceability. Traceability is a common focus, linking measurements back to recognized standards in both metrology and calibration, enhancing credibility and reliability.
Both include the use and maintenance of measurement instruments. Utilizing and maintaining instruments is fundamental in both disciplines, whether in design and development in metrology or verification and adjustment in calibration.
Both are essential for quality control in various industries. Metrology and calibration jointly contribute to maintaining high-quality standards, ensuring reliable measurements vital for effective quality assurance.
Although Metrology and Calibration have similar objectives of precision and accuracy, they vary in terms of their scope and application. Metrology lays the foundation for the scientific aspect of measurement, whereas Calibration focuses on guaranteeing the practical accuracy of instruments. Both are essential for upholding dependable measurements, thereby emphasizing the importance of comprehending these concepts in the realm of quality control within a wide range of industries. Take a look at our infographic to gain a visual comprehension of these significant distinctions!

Top 10 Fluke Multimeters – Popular Choices
Fluke stands as a staple in instrument manufacturing, renowned for accuracy and innovation—making it the preferred choice for professionals and enthusiasts alike. Known for providing top-notch multimeters, this article guides you in identifying the top 10 popular Fluke models, helping you discern features that best suit your specific needs.
 1. Fluke 87V True RMS Multimeter

This multimeter is sought after for its ruggedness; its IP67 rating makes it ideal for harsh environments. Aside from its durability, the Fluke 87V has been around for years and has proven its accuracy and advanced features to be reliable when used for electrical tasks. Moreover, its enduring popularity attests to its continued trustworthiness in demanding scenarios.
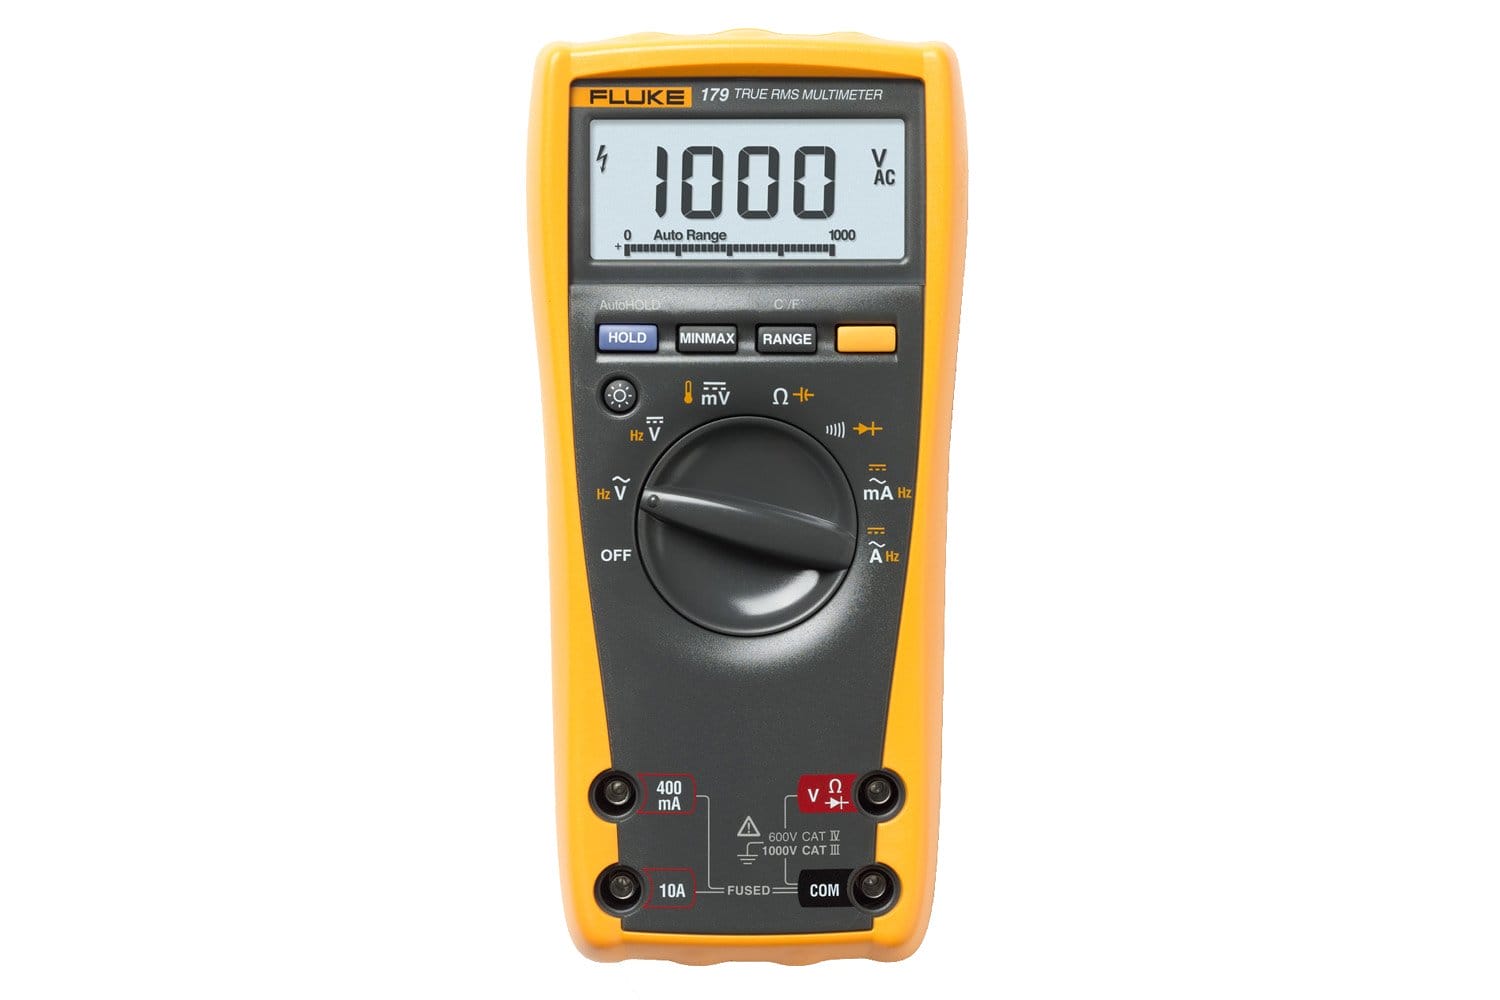
2. Fluke 179 True RMS Multimeter
The 179 True RMS is packed with advanced features, including data logging, LoZ impedance testing, and temperature measurement. Highly recommended for both professionals and enthusiasts seeking versatility, it boasts a user-friendly interface and an expansive display, ensuring an intuitive experience for all users.
3. Fluke 117 Electricians True RMS Multimeter
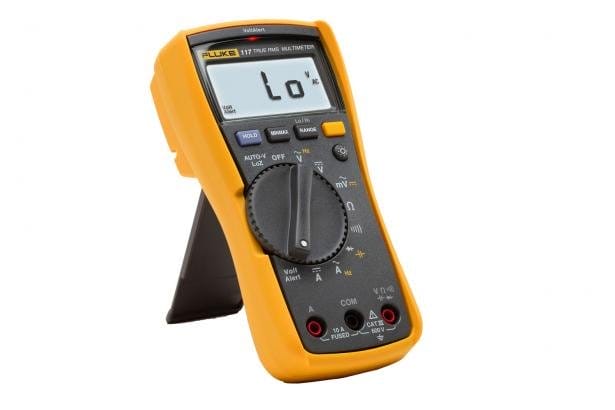
This small and sturdy meter is filled with various functions such as accurate measurement of voltage and current, checking resistance, testing continuity, calculating frequency, determining capacitance, and keeping track of the minimum, maximum, and average values. With the Fluke 117‘s CAT III 600V certification, it ensures safety during electrical tasks in both residential and commercial settings.
 4. Fluke 115 Compact True RMS Multimeter
 4. Fluke 115 Compact True RMS Multimeter
The Fluke 115’s features are similar to the 117, it just features a slightly larger build and a built-in flashlight for improved visibility in dimly lit environments. It is designed for field service applications.
 5. Fluke 3000 FC Series Wireless Multimeters
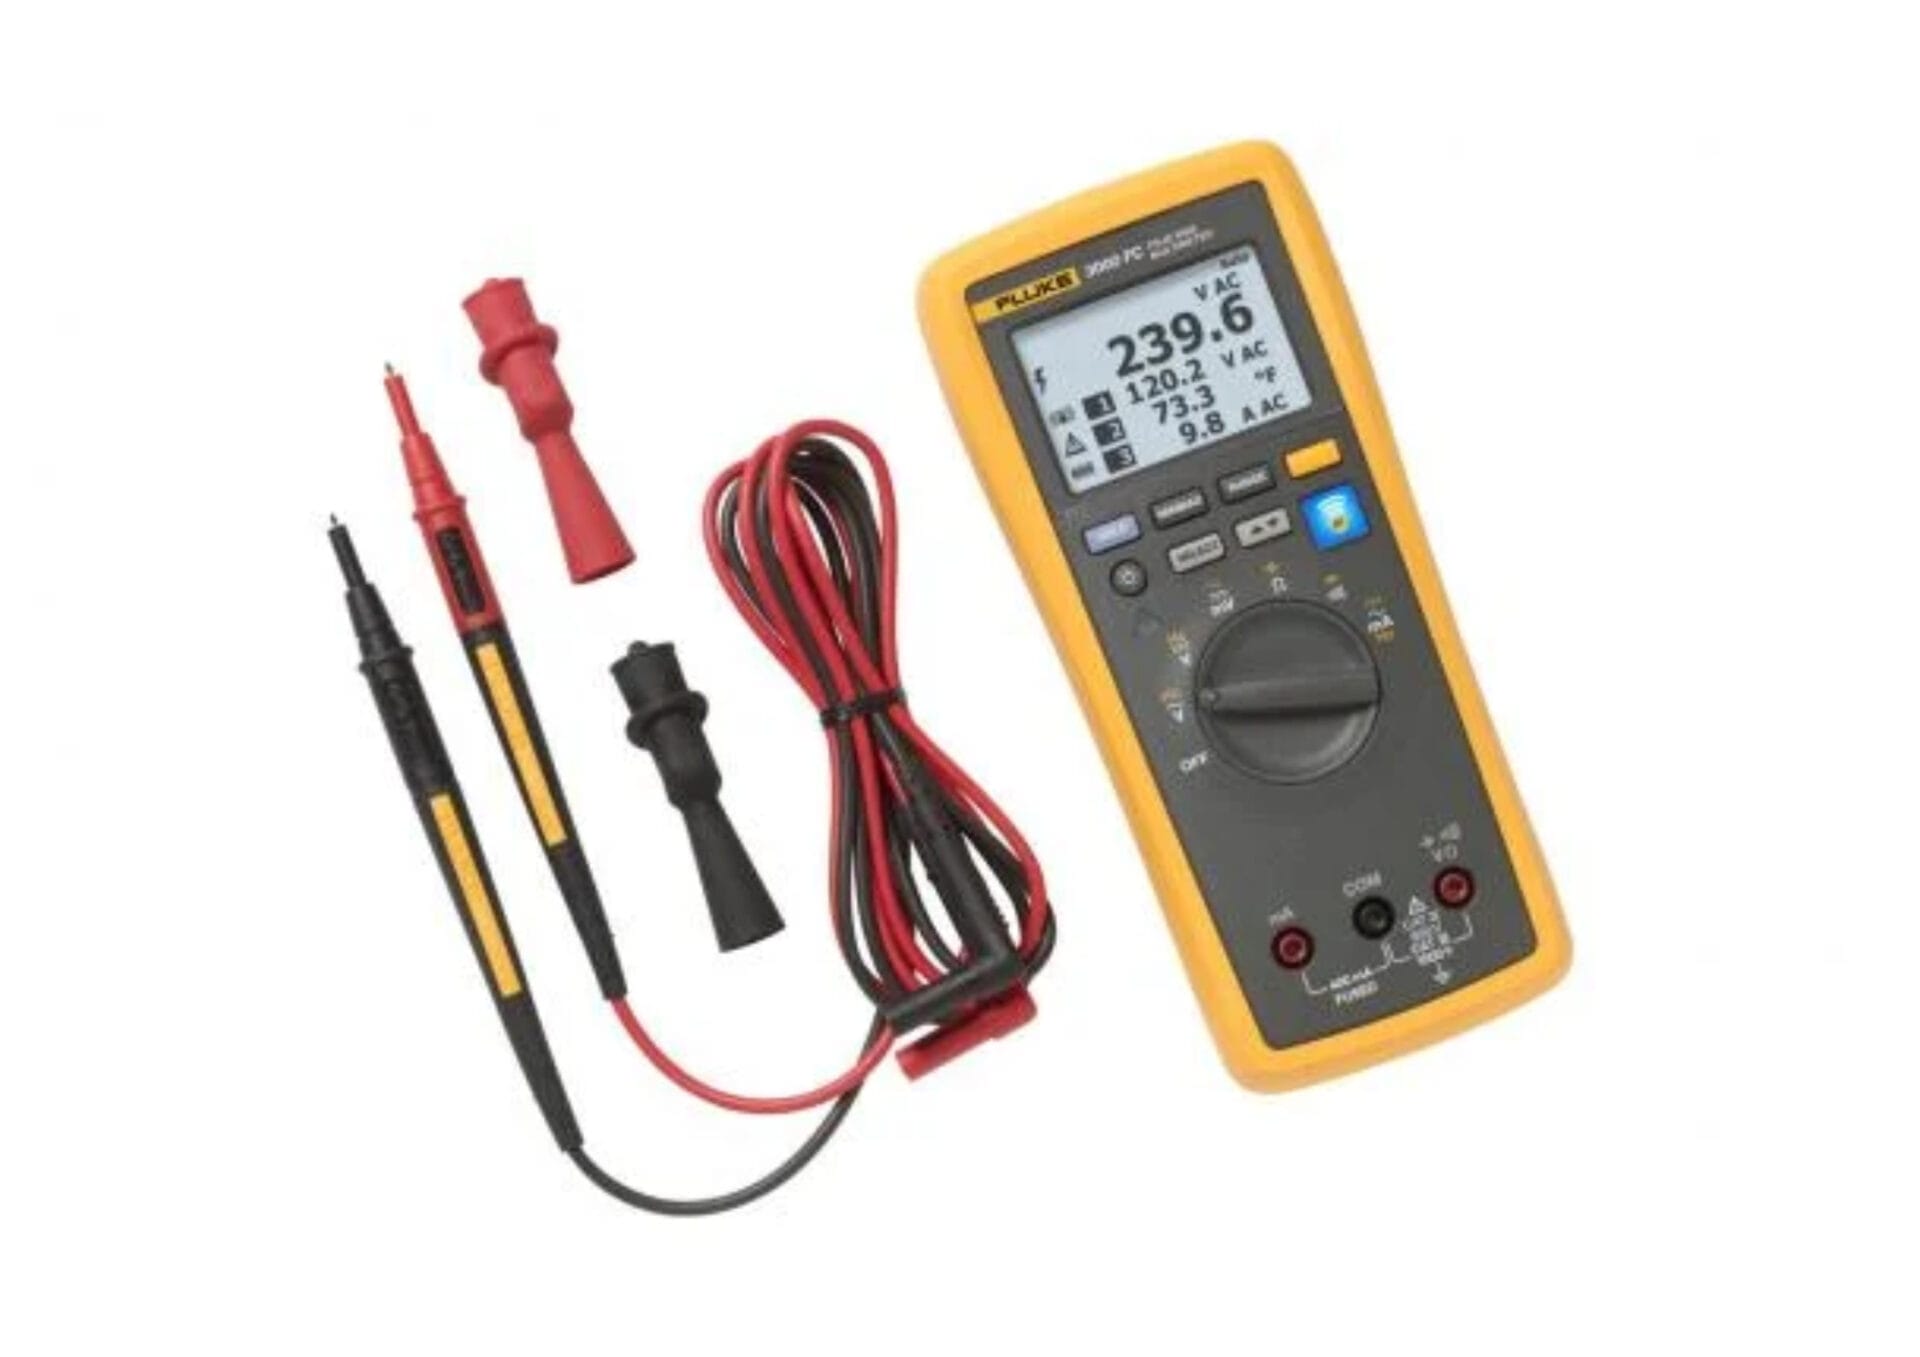
The Fluke 3000, a component of the Fluke Connect system, offers advanced features for improved performance. Within the 3000 FC series, information is transmitted effortlessly to your smartphone or tablet, transforming the way we monitor and analyze data from a distance. This innovation proves particularly beneficial in industrial environments and for individuals who prioritize safety.
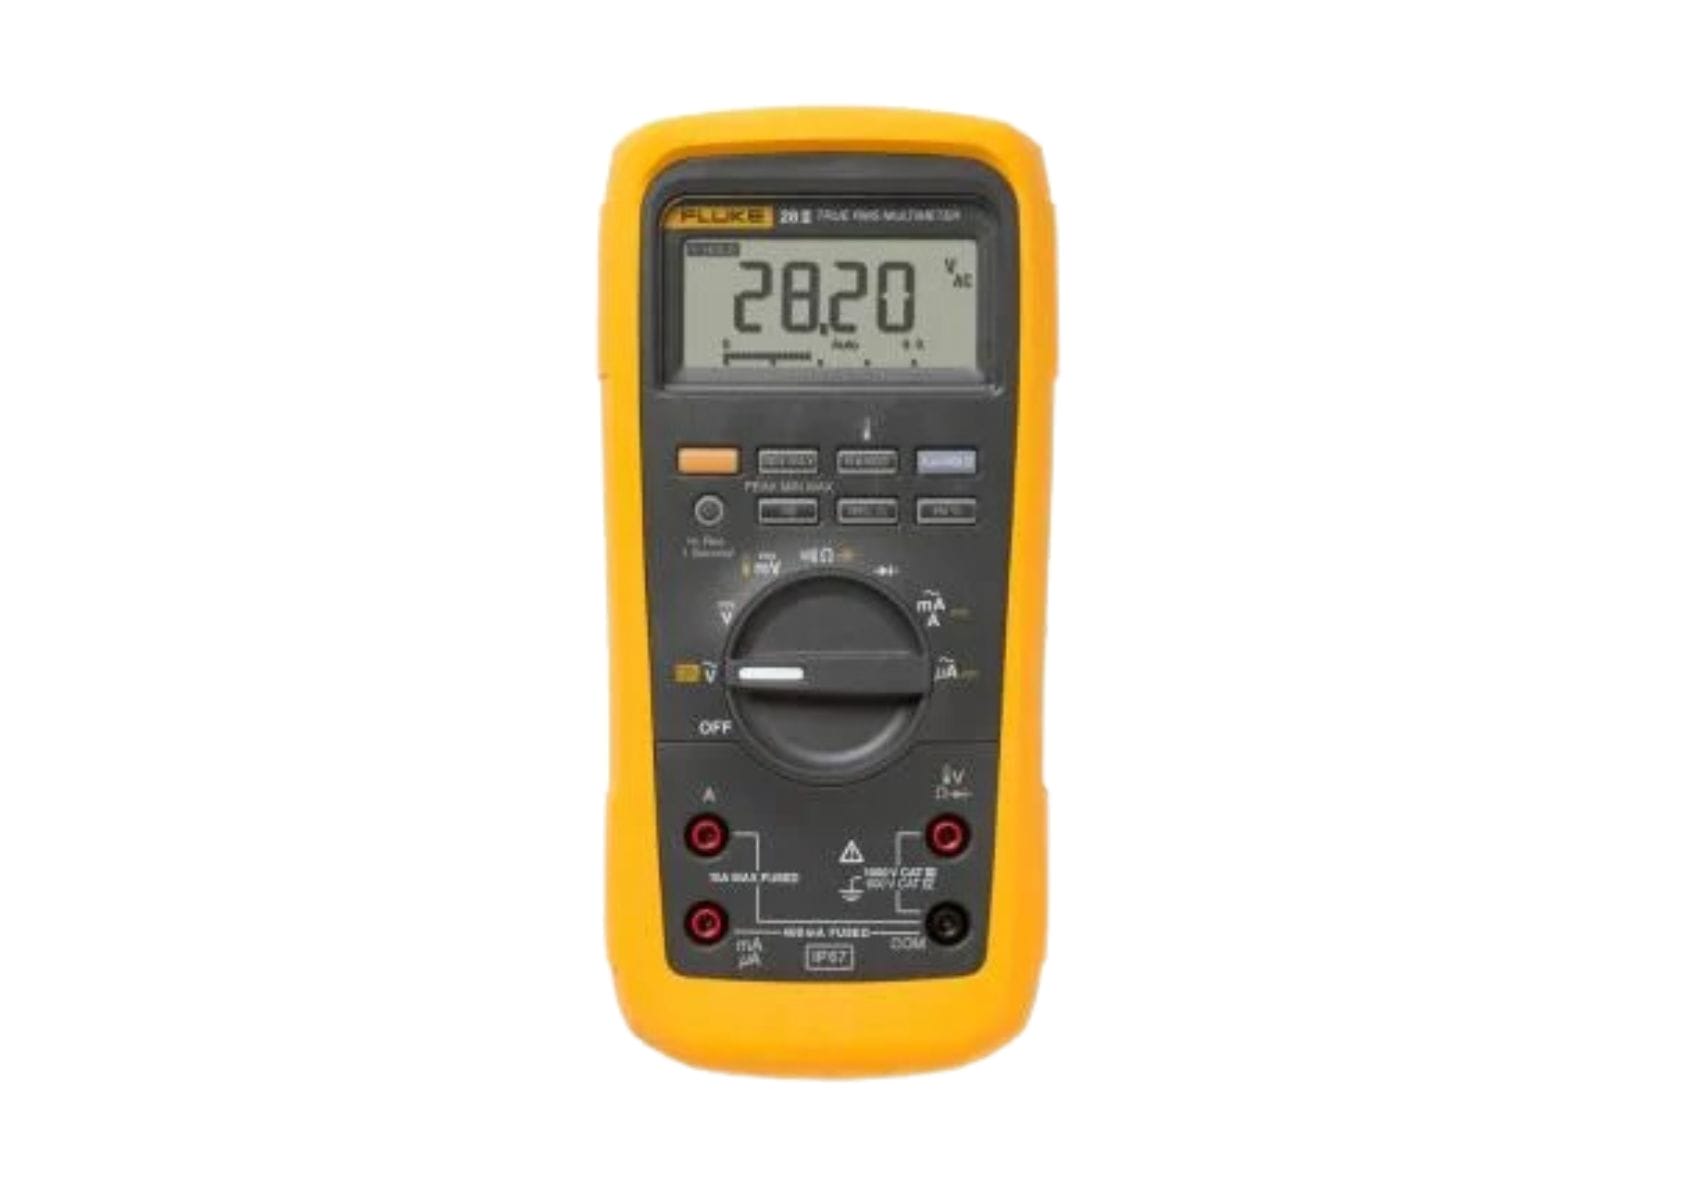
6. Fluke 28 II Rugged Digital Multimeter
The 28 II Multimeter is a multimeter that we can aptly label as the “Industrial Invulnerable,” gracefully enduring water, dust, and drops. It is a powerful tool for heavy-duty industrial applications, thanks to its high voltage and current measurement capabilities.
7. Fluke 789 ProcessMeter
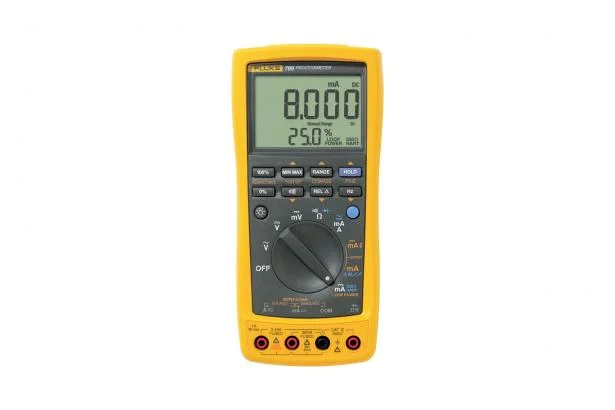
The Fluke 789 multimeter stands out from the crowd with its unique feature of incorporating a loop calibrator within its durable exterior. This additional functionality makes it a reliable verifier of accuracy for other devices. Calibration technicians and quality control teams, who place great emphasis on achieving utmost precision in their electrical systems, consider the 789 an essential tool in their arsenal.
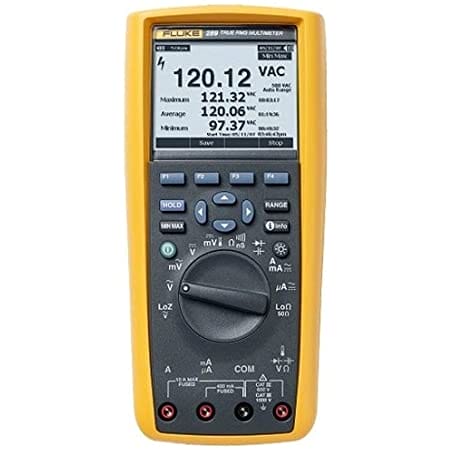
8. Fluke 289 Multimeter
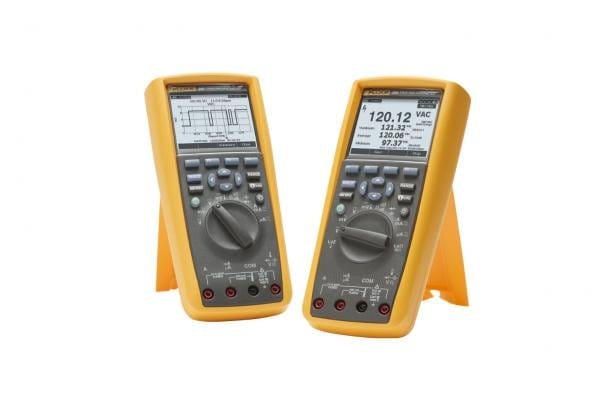
The 289 multimeter is a staple when it comes to automobiles, effortlessly handling duties such as duty cycle, pulse width, and RPM measurements. It is an essential tool for automotive technicians and car enthusiasts alike.
 9. Fluke 189 True RMS FieldScope Multimeter
With the help of the Fluke 189 True RMS FieldScope Multimeter’s scope mode, trend graphing, and data logging features, you can become a Sherlock Holmes-style electrical defect investigator. It works especially well for predictive maintenance and sophisticated system troubleshooting.
10. Fluke 116 HVAC/R Multimeter
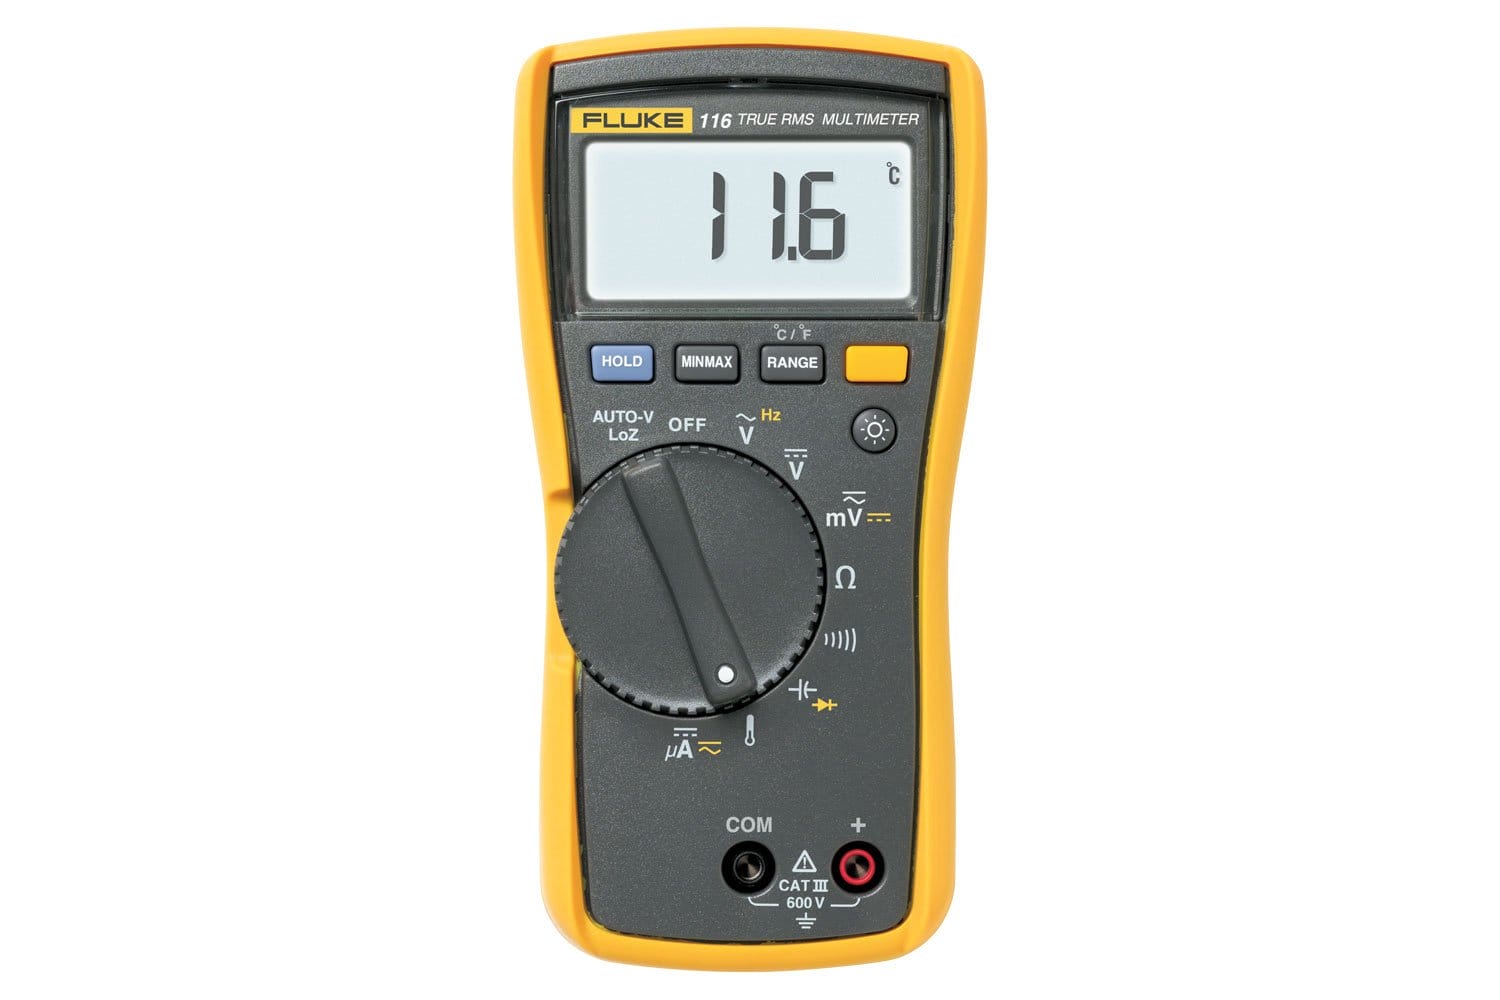
The Fluke 116 is designed with HVAC experts in mind and speaks the language of heating and cooling. With characteristics specialized in heating, ventilation, and air conditioning systems, it becomes an indispensable tool for HVAC/R personnel with its microamps resolution, temperature monitoring, and refrigerant leak detection capabilities.
How to Choose the Right Fluke Multimeter for You
Selecting the ideal Fluke multimeter entails taking into consideration factors like your industry, necessary features, and financial constraints. Consider the type of work you do and the factors you must measure on a regular basis. With such a wide selection, Fluke can guarantee that there is a model that meets your specific needs.
Ensuring Fluke Multimeter Accuracy
Maintaining multimeter accuracy and fostering confidence in readings requires calibration. Systematic comparison with a reference standard is part of the process, and adjustments are made for precision as needed. The frequency of calibration varies depending on the work; more precise tasks could need more frequent calibration. Cleaning and inspection are part of routine maintenance that goes hand in hand with calibration. It dispels common preconceptions that calibration is a one-time operation or limited to specialist devices, emphasizing the continuous need for calibration for all measurement tools.
As you choose a Fluke multimeter, think about what you need and the features of each model – Whether you’re an electrician, technician, engineer, or researcher.
Need help finding the right Fluke multimeter for your specific needs? Consult with our experts!
Curious about our Fluke Equipment Services? Get in touch for more information!

Preparing Your Equipment for a Productive 2024
As the New Year is approaching, businesses are preparing to freshen up again for new challenges and opportunities. A big part of this 2024 preparation is ensuring your instruments are working in optimal condition. Taking a proactive approach can increase efficiency, lessen downtime, and set up the business/projects for a successful year ahead. Here are tips and strategies to help you prepare your equipment for the new year:
1. Have a Comprehensive Inspection
Make sure your instruments are in good working condition by conducting a complete inspection before the new year begins. Check all cables and connections for damage and ensure that safety features are working properly. Detecting the problems earlier saves you from a series of potential disruptions and additional costs.
2. Implement Preventive Maintenance Plans
Equipment preparation relies on one vital factor: preventive maintenance. Creating a detailed schedule for regular maintenance tasks like lubrication, calibration, filter changes, and routine checks is important. Following the maintenance schedule extends equipment life and reduces the chance of unexpected breakdowns.
A. Equipment Repair
Fixing equipment before the new year starts helps businesses avoid problems and delays caused by broken equipment. It also provides an opportunity to assess the overall condition of the machinery. This evaluation can help identify any underlying issues or potential problems that may have gone unnoticed. By addressing these concerns with equipment repair early on, businesses can prevent more significant and costly repairs in the future.
B. Calibration of equipment
It is highly recommended to calibrate equipment before the new year for various reasons. Accurate and reliable measurements, compliance with regulations, better planning, and budgeting are just a few benefits. Additionally, it helps companies detect potential issues early on while ensuring the quality and efficiency of their processes. Prioritizing calibration is key to any company's overall success.
3. Update Necessary Software
For equipment that relies on software or firmware, staying up-to-date is crucial. Don't forget to check for any new updates and patches that the manufacturers may offer. With upgraded software, you can enjoy improved efficiency, security, and even new features that can greatly enhance performance.
4. Train Your Team
To maintain effective equipment operations, it's crucial to equip your team with the necessary knowledge and skills. Set up training sessions to review basic troubleshooting procedures alongside safety protocols and proper usage. By addressing small issues early, your team can prevent them from becoming big problems, leading to smoother operations.
5. Check your Inventory
Check your spare parts and supplies to make sure you have everything you need to avoid equipment delays. Streamlining the replacement process is easier with a well-organized inventory system, reducing downtime. Identify potential stockouts, reduce overstocking, and consider this in your new year's financial planning and reporting.
6. Reassess Budget Allocations
Budgeting for the upcoming year must include allocating portions of it to equipment upgrades. Assess your current instruments and consider new technology options to upgrade operations. Strategically invest in updates and long-term cost-saving upgrades that will increase efficiency.
As we get ready for the new year, preparing our equipment carefully is crucial for success in 2024. We inspect and protect our businesses from disruptions. We also allocate budgets for upgrades. These measures help us prepare for future challenges and opportunities. Preventive maintenance, immediate repairs, and calibration ensure equipment readiness, while software updates and team training foster adaptability. Inventory checks and budget adjustments promote financial prudence and operational efficiency. This preparation goes beyond routine maintenance, paving the way for resilience, efficiency, and growth in 2024.

Guide to Backflow Test Gauge Calibration
Calibrating the backflow test gauge is crucial for assessing the functionality of backflow prevention devices and ensuring water safety. The most important part of this practice is calibrating backflow test gauges for water safety measures. This article emphasizes precision as a significant aspect of backflow test gauge calibration to safeguard against potential hazards.
What are Backflow Prevention Valves?
Understanding the purpose of backflow prevention valves is essential to grasp the significance of periodic testing. They act as gatekeepers, preventing the unwanted contamination of public drinking water by wastewater from commercial buildings. The backflow test gauge is a necessary tool used for inspection to check if prevention devices are working effectively.
A nuanced approach to calibration is vital due to the varying components of the test kits - including fittings, needle valves, hoses, a case, and a differential pressure gauge - which exhibit diversity depending on the model, type, and brand utilized.
The backflow test kit/gauge plays a valuable role in determining the efficacy of backflow prevention valves. The kit's differential pressure readings provide insight into valve functionality. A standard backflow test usually takes 20 to 30 minutes but may be extended for repairs.
Backflow Test Gauge (Kit) Calibration
At the center of backflow test gauge accuracy is calibration. Making sure the kit measures up to a standard is key. Its ultimate goal is to affirm the kit can properly test backflow prevention valves. Accurate and trustworthy results rest on this precise alignment.
To maintain water safety standards, EPA regulations require an annual inspection and certification of backflow test gauges. A thorough examination of all components is ensured by simulating a backflow test during the inspection to identify any issues. This is a vital process to ensure the proper functionality of the gauges.
When is Backflow Test Gauge Calibration Needed?
When readings are off, you need to calibrate them regularly. This should be part of your regular maintenance plan to keep the accuracy and quality of your results. It is important to note that routine inspection and calibration of your backflow test gauge should be done by a certified calibration provider, like Micro Precision.
Post-calibration and Repair
Frequent use can lead to wear and damage to components, even after careful calibration. It's critical to identify post-calibration problems, and we provide thorough backflow gauge repairs. The continuous operation of your equipment is our top priority, which is why inspecting it on a regular basis is highly recommended.
Micro Precision Calibration
We at Micro Precision Calibration have decades of experience. We place a strong emphasis on calibration since we know that accurate measurements are essential to conducting successful backflow tests. We guarantee that our clients obtain accurate and dependable calibration services since we are dedicated to perfection. Here are some of the calibration types of
- Traceable
- Traceable with Data
- Accredited Calibration (ISO:IEC 17025:2024, Z540.3)
Ensure quality backflow gauge calibration at Micro Precision. Inquire now to learn more and get a free quote.

How to Prepare Your Equipment for On-Site Calibration
There is a growing demand for on-site calibration as its advantages become more widely known. The convenience and minimized downtime make it an attractive alternative. In this article, we'll explore tips on preparing your equipment for on-site calibration to make the process smoother and ensure accuracy and compliance.
Understanding Calibration Requirements
Before planning, research, and understand calibration requirements first. This includes knowing specific requirements for your industry and type of equipment because regulatory standards also vary. Determine the standard and required frequency, and identify any distinct calibration needs. Understanding these nuances is fundamental to a successful on-site calibration process.
Get the Necessary Tools and Materials
Before your calibration technician arrives at your location, ensure that you have gathered all the necessary tools and equipment. Additionally, consider consulting with your calibration provider to determine if there are specific materials you should prepare in advance. Typically, the following are recommended:
- Calibration Standards: Equipment measurements can be compared against reference instruments or materials known as calibration standards. These serve as a point of comparison for known values.
- Calibration equipment: Used to perform onsite calibration procedures are specialized tools and instruments, collectively referred to as calibration equipment.
- Power sources: Operating calibration and test equipment requires power sources to be readily available.
- Cleaning supplies: Inspect the equipment for any contaminants or debris that could interfere with the calibration process before cleaning it thoroughly. Remove any dirt or contaminants using cleaning supplies.
- Safety equipment: Appropriate safety equipment should be provided – think gloves, safety glasses, and protective clothing – as required for the calibration procedures to ensure a safe environment.
- Dedicated workspace: For the calibration technician, ensure that there is a specific workspace set aside. A well-lit, tidy area without any disruptions or interference is ideal.
Equipment Preparation
Eliminating all possible obstructions that could hinder the on-site calibration process is of utmost importance when preparing equipment for calibration. Thus, start by conducting a thorough inspection and cleaning of the equipment to get rid of any dirt, debris, or other possible contaminants. It is essential to inspect every inch of the equipment for any visible damage or defects that could lead to inaccurate calibration. It is also recommended to prioritize safety by disconnecting the equipment from external devices and turning off the power to avoid interference during the calibration process. For proper calibration, it is important to gather relevant records such as maintenance schedules, calibration history, and operating manuals. The on-site calibration process can be greatly assisted by these details and sets up the equipment calibration for a positive outcome.
Organizing the Equipment
Arranging equipment efficiently and systematically is advantageous, and there are several ways to approach it. Grouping equipment that share similarities, such as function, calibration needs, or type is one way to go about it. Proper labeling and tagging of each piece of equipment is vital to help calibration technicians locate and identify them quickly during testing. Also, it's crucial to organize the equipment in a way that allows for comfortable access and movement. This arrangement promotes a smoother setup and more efficient calibration, enabling prompt and accurate addressing of each equipment.
Find a Trusted Onsite Calibration Service Provider
Finding a service provider with a reputation for providing precise and effective on-site calibrations is essential when looking for on-site calibration services. Examine industry reputation, reviews, and testimonies to be sure it's reliable. An established supplier with a solid track record can make a big difference in how well your calibration goes. The secret to a successful outcome is hiring experts committed to guaranteeing your equipment operates with minimum downtime, accuracy, and convenience. Put the accuracy of your instrument in the hands of a reputable service provider.
Communicating with the Calibration Technician
Effectively communicating with your technician makes the whole process easier and smoother. This involves:
- Prepare a detailed list: When creating a list of equipment for calibration, include as much detail as possible. This should encompass the specific equipment type, serial number, and any particular calibration needs or procedures that must be met. Provide this list to your technician or on-site calibration service provider.
- Informing about specific calibration requirements: Share information regarding special requirements, specific calibration standards, and safety precautions.
- Facility Access: The equipment and calibration workspace requires clear access, so coordinate with facility personnel for access codes and keys to be provided.
Ensuring a Smooth Calibration Process
For a seamless process during on-site calibration, efficiently cooperating with the service provider is necessary. It is important to provide information promptly in response to any queries from the technician(s) regarding concerns about the equipment. Establishing a cooperative environment is achieved by offering assistance with equipment movement, providing technical information, and even operating the equipment being tested. A critical factor for effective calibration is uninterrupted work time for the technician, allowing for precision and efficiency throughout the process. When combined, these efforts create a seamless calibration experience.
Conclusion
On-site calibration may be a more convenient alternative; however, it is still essential to make the proper preparations to have a seamless calibration experience. Properly preparing your equipment, organizing the necessary requirements and tools, finding a reliable provider, and communicating with your technician(s) is key to a successful calibration process that can minimize downtime and maximize the productivity of your equipment
Ready to Experience Seamless On-site Calibration?
Here at Micro Precision, we specialize in on-site calibration that ensures convenience, accuracy and minimized downtime. Let our professionals handle enhancing your instrument's precision. Contact us today to schedule your on-site calibration.

Top 10 Tips for Torque Wrench Accuracy and Safety
Torque wrenches are essential instruments for precision work, ensuring accurate tightening of bolts and preventing potential damage. But using a torque wrench effectively entails more than just tightening and loosening. We'll go over ten essential guidelines in this comprehensive guide that go above and beyond the fundamentals to make sure you complete tasks and projects correctly.
1. “One Click” Rule
One click is enough - this should be a mantra to follow when it comes to tightening bolts. The torque wrench is a tool designed to be used with a specific amount of force. Overtightening can result from adding more clicks, which could harm the tool as well as the bolts. It's important to fight the urge to overtighten and have confidence that the required torque may be reached with just one click. By doing this, you can preserve the integrity of the components you're working on as well as the lifespan of your torque wrench.
2. Be Careful with “Crow’s Foot” Fitting
A special set of considerations applies to torque wrench users using "crow's foot" style fittings. It is crucial to determine the proper offset for accurate readings because these fittings have the potential to change the tool's torque. Applying the correct torque consistently is ensured by taking the time to learn the ins and outs of your torque wrench, including any additional elements presented by "crow's foot" fittings. The key to success is precision, and honing your torque wrench skills will need close attention to detail.
3. Use the Adjustment Lock
Many torque wrenches come with an adjustment lock, a feature often overlooked but essential for maintaining the integrity of your torque settings. Give the adjustment lock attention before using the tool. This little step keeps settings from changing accidentally, giving you a solid and dependable workflow. You reduce the possibility of inconsistent torque application by using the adjustment lock on a regular basis, which improves the overall precision and security of your operations.
4. Avoid Making Your Own "Extensions"
Using pipes or other objects to extend your torque wrench handle may seem tempting in a pinch, but it can be unsafe and may impact the accuracy of the torque you apply. The lure of improvisation can be powerful when you need to reach further, but compromising safety is never worth it. To make sure your work is precise and you don't put yourself in danger, it's important to use the torque wrench as it was intended. The readings from this instrument are very precise and any changes to its design will cause it to be unreliable. Don't be tempted to make your own extensions.
5. Use Caution When Loosening
Contributing to a safer and more effective work environment requires both caution and versatility when it comes to torque wrenches. Although mainly intended for tightening bolts, there are some models that can also work to loosen them. This dual functionality demonstrates the tool's adaptability. However, when using a torque wrench to loosen bolts, the sudden release of tension must be avoided as it can cause harm or damage to the tool. Therefore, it is important to understand the specifications of the torque wrench and exercise due diligence during loosening operations.
6. Storing Your Torque Wrench
Maintaining the precision and durability of your torque wrench requires proper storage techniques. Don't forget to wind back the torque setting when the tool isn't in use. This easy step reduces stress on the internal components, specifically the spring, which can deteriorate with continued tension. By regularly implementing this storage practice, you guarantee your torque wrench is primed for use, offering dependable and exact outcomes every time.
7. Choose the Right Type of Torque Wrench
It is important to get the right kind of torque wrench for your particular requirements. There are numerous choices available on the market, including hydraulic, digital, click, dial, beam, and click torque wrenches. Every kind has its own set of upsides and things to keep in mind. Selecting the type that best suits your needs and the requirements of your job is essential. For best results and longevity, you should also adhere to the manufacturer's guidelines on how to use and care for your selected torque wrench. Results that are dependable and consistent come from taking the time to learn the subtleties of your equipment.
8. Calibrate Regularly
The accuracy of a torque wrench is only as good as its calibration. To ensure precise torque application, regular calibration is a must. Ideally, calibrate your torque wrench before each use, or at least once a year, depending on the frequency of use and the precision required for your applications. Calibration not only safeguards the accuracy of your tool but also serves as a proactive measure to identify and address any potential issues before they compromise your work. By making regular calibration a standard practice, you instill confidence in the reliability of your torque wrench.
9. Use the Correct Setting
Using the right torque wrench setting for the task at hand is one of the fundamentals of effective torque wrench use. To determine the appropriate torque value, consult the specifications of both the fastener and the part being worked on. For accurate results, adjust the torque wrench setting appropriately. Although it seems basic, this step is crucial to the success of your operations and is frequently missed. Applying torque precisely starts with knowing the specifications of the task and following the suggested parameters.
10. Clean the Threads
The precision of torque measurements can be greatly impacted by dirt and debris on the fastener's threads. Use a wire brush or a clean cloth to thoroughly clean the threads before applying torque. This seemingly insignificant but crucial step makes sure that the torque is applied to the fastener directly and interference-free, leading to readings that are more precise and trustworthy. A proactive step that improves the overall accuracy and productivity of your work is to include thread cleaning in your torque wrench practice.
It takes a combination of attention to detail, following best practices, and a dedication to safety and precision to become proficient with torque wrench methods. Following the advice in this comprehensive guide can help you improve the quality of the task at hand as well as the longevity and accuracy of your torque wrench. Whether you are an experienced professional or a beginner when it comes to torque applications, adding these exercises into your routine will guarantee that you use the torque wrench as a trustworthy and essential tool for your job.